1. Ubuntu 환경에서 그에 맞는 환경 설치하기
- JDK 설치하기
$ sudo apt update && sudo apt install openjdk-17-jdk -y
2. 잘 설지됐는지 확인하기
$ java -version
3. Github로부터 Spring Boot 프로젝트 clone하기
$ git clone https://github.com/JSCODE-EDU/ec2-spring-boot-sample.git
$ cd ec2-spring-boot-sample
수업에서 들은 프로젝트 가져오기 ▼ (본인만의 프로젝트 clone 해도 됨)
https://github.com/JSCODE-EDU/ec2-spring-boot-sample
GitHub - JSCODE-EDU/ec2-spring-boot-sample: <비전공자도 이해할 수 있는 AWS 입문/실전> 中 예제 프로젝트
<비전공자도 이해할 수 있는 AWS 입문/실전> 中 예제 프로젝트. Contribute to JSCODE-EDU/ec2-spring-boot-sample development by creating an account on GitHub.
github.com
4. application.yml 파일 만들기
위에 프로젝트를 clone 하였다면 application.yml 파일이 포함되어있지 않기 때문에 직접 만들어주어야한다.
(application.yml 과 같은 민감한 정보가 포함된 파일은 Git으로 버전 관리를 하지 않는 경우도 있다.)
$ cd src/main/resources
$ vi application.yml   # vi 편집기로 application.yml 파일 생성 후 :wq로 저장종료
src/main/resources/application.yml
server:
  port: 80
5. 서버 실행시키기
$ cd ~/ec2-spring-boot-sample
$ ./gradlew clean build    # 기존 빌드된 파일을 삭제하고 새롭게 JAR로 빌드
$ cd ~/ec2-spring-boot-sample/build/libs
$ sudo java -jar ec2-spring-boot-sample-0.0.1-SNAPSHOT.jar  # 서버 실행
※ 백그라운드에서 Spring Boot 실행시키기
$ sudo nohup java -jar ec2-spring-boot-sample-0.0.1-SNAPSHOT.jar &
6. 서버 실행 확인
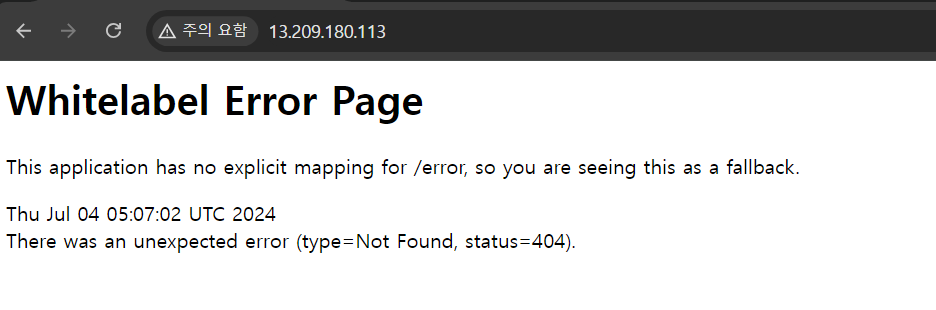
※ 서버가 제대로 켜지지 않았다면 아래와 같이 표시됨

'AWS > Basic' 카테고리의 다른 글
| [AWS - 도메인 연결하기] Route53이란? & AWS Route53에서 도매인 구매하기 (0) | 2024.07.15 |
|---|---|
| [AWS] 비용 나가지 않게 EC2 깔끔하게 종료하기 (0) | 2024.07.15 |
| [AWS] 탄력적 IP (Elastic IP) 란 ? & EC2에 탄력적 IP 연결 (0) | 2024.07.15 |
| [AWS] 생성된 EC2 인스턴스 정보 확인 & EC2 접속하기 (0) | 2024.07.12 |
| [AWS] EC2 란 ? 리전(Region) 선택 & EC2 셋팅 (0) | 2024.07.12 |